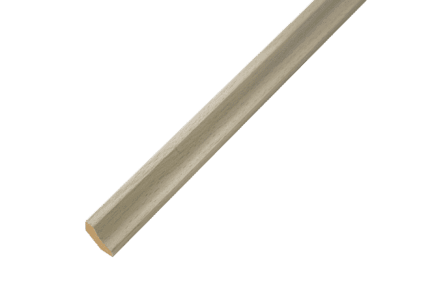
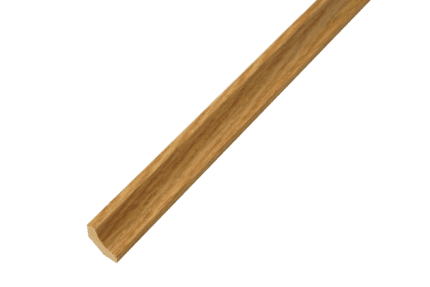
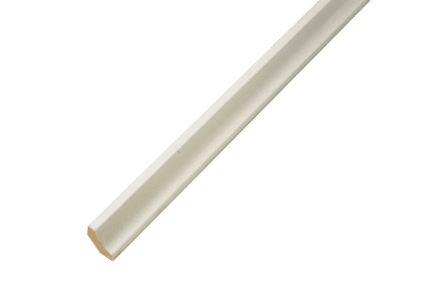
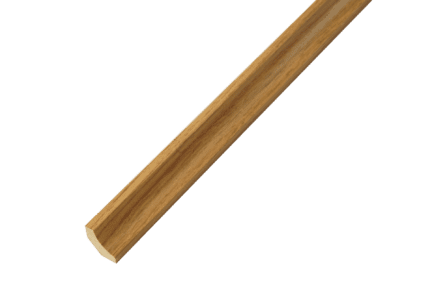
Premium Scotia / Floor Beading
Learn more about Premium Scotia / Floor Beading
Scotia and Floor Beadings both serve the same purpose in covering the expansion gap between the flooring and the wall to create a nice, aesthetic finish. The differences between them are minor but serve a meaningful enough distinction.
Whilst both come in the form of thin strips of wood/metal, they differ in the following ways:
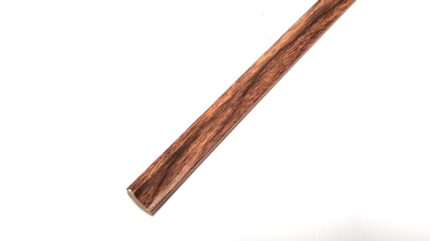
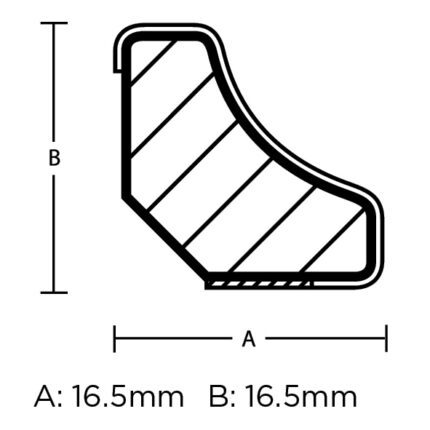
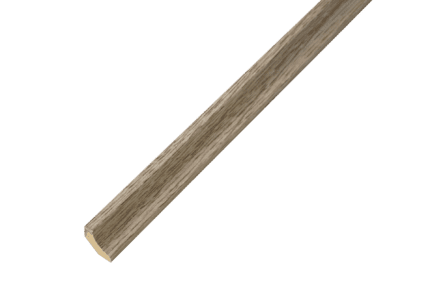
- Scotia – Scotia has a curved, convex profile. In simpler terms, they are shaped like a quarter circle in the cross-section. This has the advantage of blending into the skirting board and floor, smoothing over the transition.
- Floor Beading – Floor beading has a flat side sitting against the wall, whilst the top is starkly angular. This creates a defined line between the floor and the wall.
In the end, the major difference is the finished look.
Scotia and Flooring Beading are only required for three main reasons:
- Aesthetics – This is by no means petty. An uncovered expansion gap or uneven base to the wall finish, whilst very important to allow the natural expanding and contracting that will naturally occur, can be jarring to the overall appearance of the room.
- Protection – Without Scotia or Floor Beading, you leave the gaps of your room exposed to possible sources of damage, as well as dust build-up.
- Safety Net – Scotia and Floor Beadings act as a safety net should there be any unevenness at the edges, making the finished floor that much neater.
Installing Scotia/Floor Beading is a straightforward process, at least for those with some DIY experience. We recommend using safety goggles and gloves when doing this.
- Measure – Measure the perimeter of the room to determine the length of Scotia/Floor Beading needed.
- Cut – Cut to fit the wall’s length. Use a mitre saw/box for angled cuts for corners.
- Corner Angles – Cut your Scotia to a 45-degree angle at interior corners, with the reverse angles for external corners.
- Dry Fit – Place the lining against the skirting board and floor to ensure a proper fit.
- Fix In Place – Fixing in place is done through either nailing down or glueing. Use small panel pins if you prefer to nail them down, and ensure they go into the skirting board, NOT the floor. Otherwise, apply a suitable adhesive to the back and press it firmly against the skirting board.
- Finishing Touches – Any unused nail holes are best filled with wood filler, matching the scotia/floor beading’s colour to mask the hole. Any small gaps between the wall and the lining should be filled with caulk. This allows any unused/inefficient areas to be patched up for a neat finish.
Yes, our floor linings can be used to hide wiring and cables with Scotia. This is done to manage your cables and wires for improved aesthetics and to ensure your room is as clear as possible from a safety perspective, too.
Scotia, in particular, provides a small space between itself and the floor due to the curve that creates an inner space. This curve can be used to run wires and cables, but only ones that are smaller in diameter with sufficient space around.
That being said, it’s important to consider a few points of caution:
- Cables too thick pose a risk of forcing Scotia away from its position.
- Cables could suffer damage through compression.
- Cables for elements of the room that are not permanent pose a risk, as they may require replacing, and that will require Scotia to be uprooted causing an inconvenience for you.
- Avoid running high-voltage cables in this manner, as this is a fire hazard.

